
How to make Creative Shapes in PowerPoint 2013?
Introduction
There are millions of images available on the Internet that you can use to make your presentations more interesting. In addition to this, you have unlimited options of drawing your own shapes. In PowerPoint 2013 you can get even more creative forming your own shapes by merging them together. Now I’ll show you how you can use shapes in PowerPoint 2013 to make your slides even more attractive.
Overview of the final result
Here I have a sales presentation about our video trainings. I’m going to use images, shapes and shadows to make some of these slides a bit more interesting. On this slide, I want to add an iPad frame and add a reflection to the picture.

On this slide, I want to add gear wheels to symbolize our customized training solutions

and on this third slide, I want to create a more selling ad that looks like this.

How to Crop images to a certain shape in PowerPoint 2013?
Let’s start with the first slide. Here I have a screenshot taken from my iPad but I’d like to show the actual image of the iPad, so I’ll search for it online. I’ll click “INSERT”, “Online Pictures” and then type in iPad in the “Bing” image source. I’ll select this image and click “Insert”.
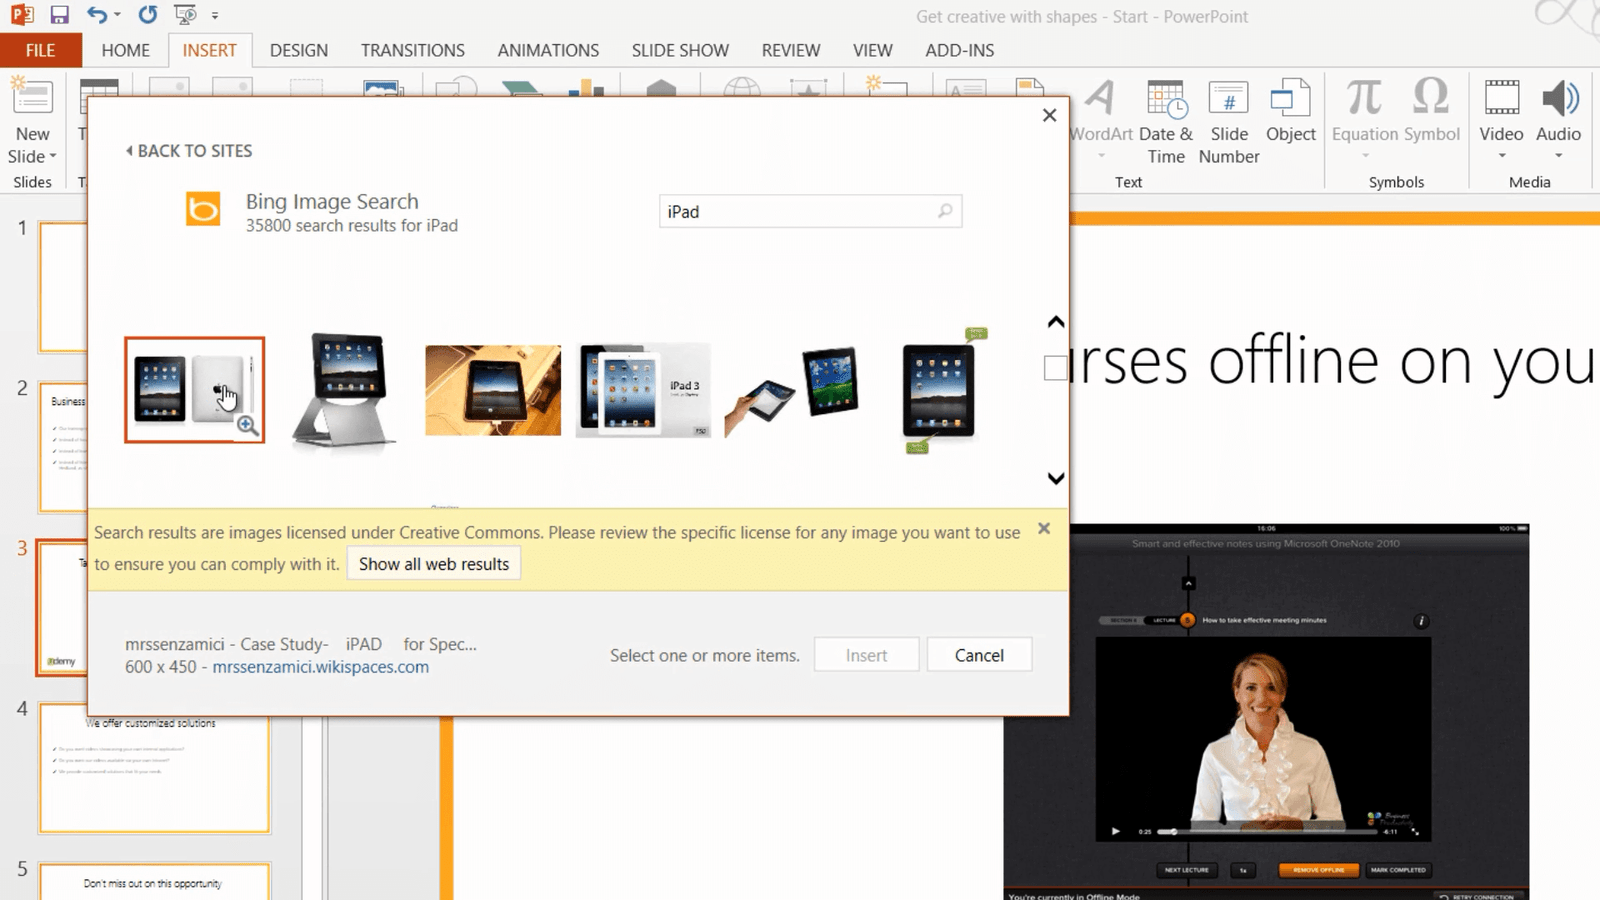
First I need to crop it. Under the “PICTURE TOOLS”, under “FORMAT” tab, I’ll click “Crop” and then I’ll move the handlebars so that they are side by side with the picture.
However, the iPad has rounded corners but the crop shape is square. If you want to crop objects into other forms than just rectangles you can use “Crop to shape”. Mark the object, on the “FORMAT” tab, click “Crop” and then “Crop to shape”. Here I’ll select a rectangle with rounded corners. I’ll move the little yellow marker to change the sharpness of the rounded corner. And there! Now the iPad has been cropped to its proper shape.

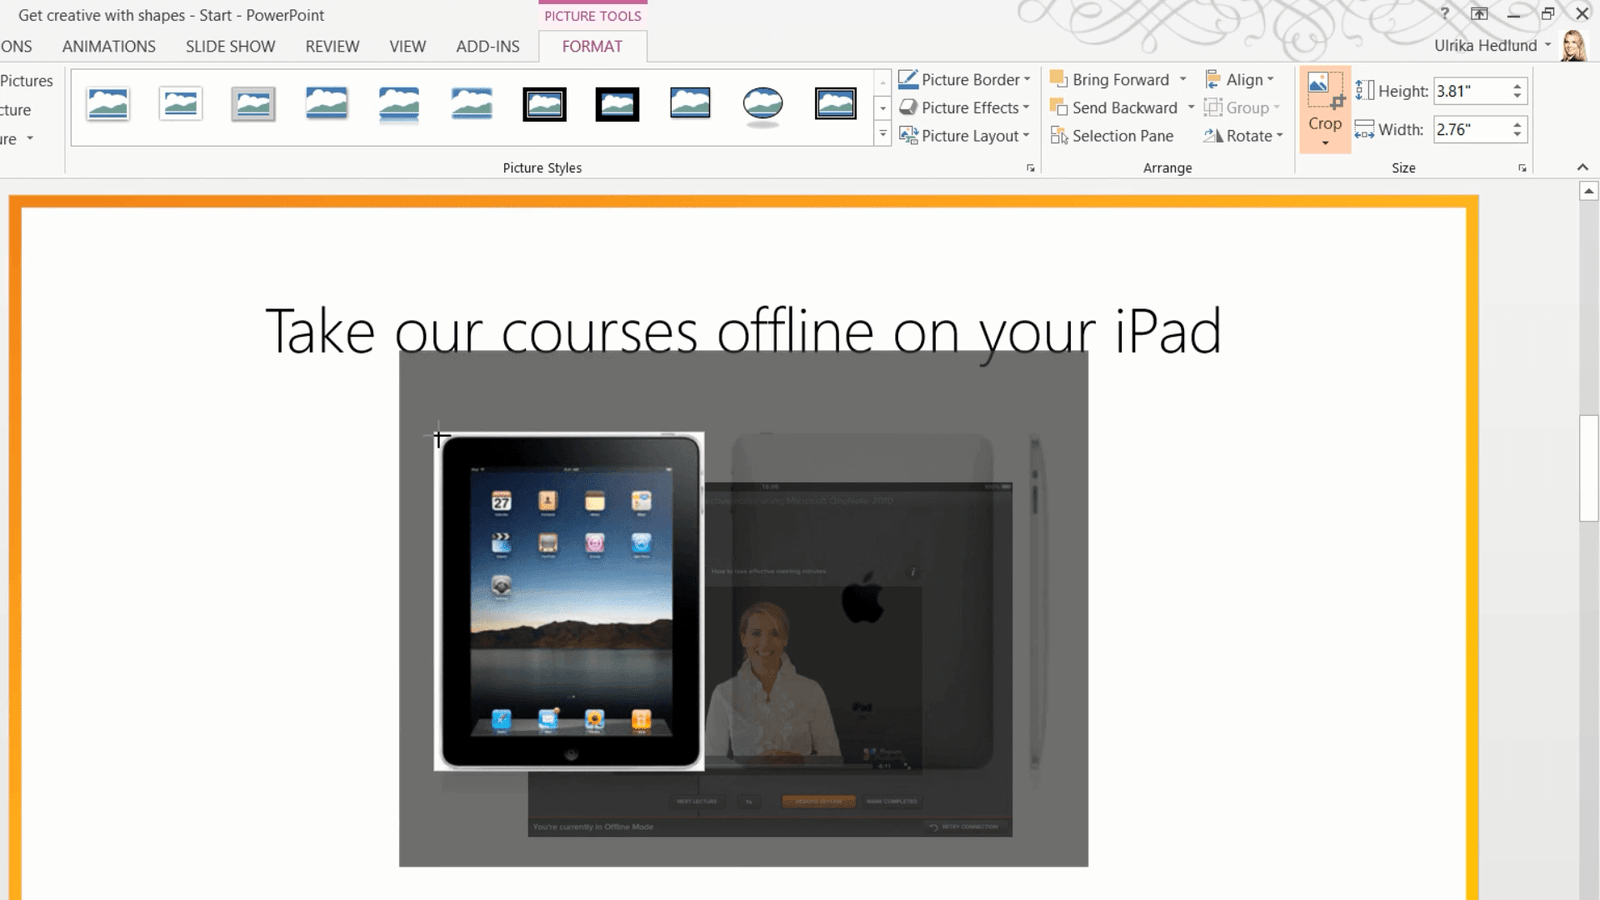
Now I’ll rotate the picture by going to the “FORMAT” tab, “Arrange” and then clicking “Rotate 90 degrees”. I’ll send it back one layer by clicking “Send Backward” and then “Send to Back”. I’ll make it a little bit bigger by pulling the bottom right corner. If you hold down “Shift” when you resize you make sure to keep the proportions of your picture. I’ll fit in my screenshot into the picture of the iPad, mark both objects, right click and select to “Group” them into one single object, then I’ll just reposition the image a bit.
How to add reflections to an object in PowerPoint 2013?
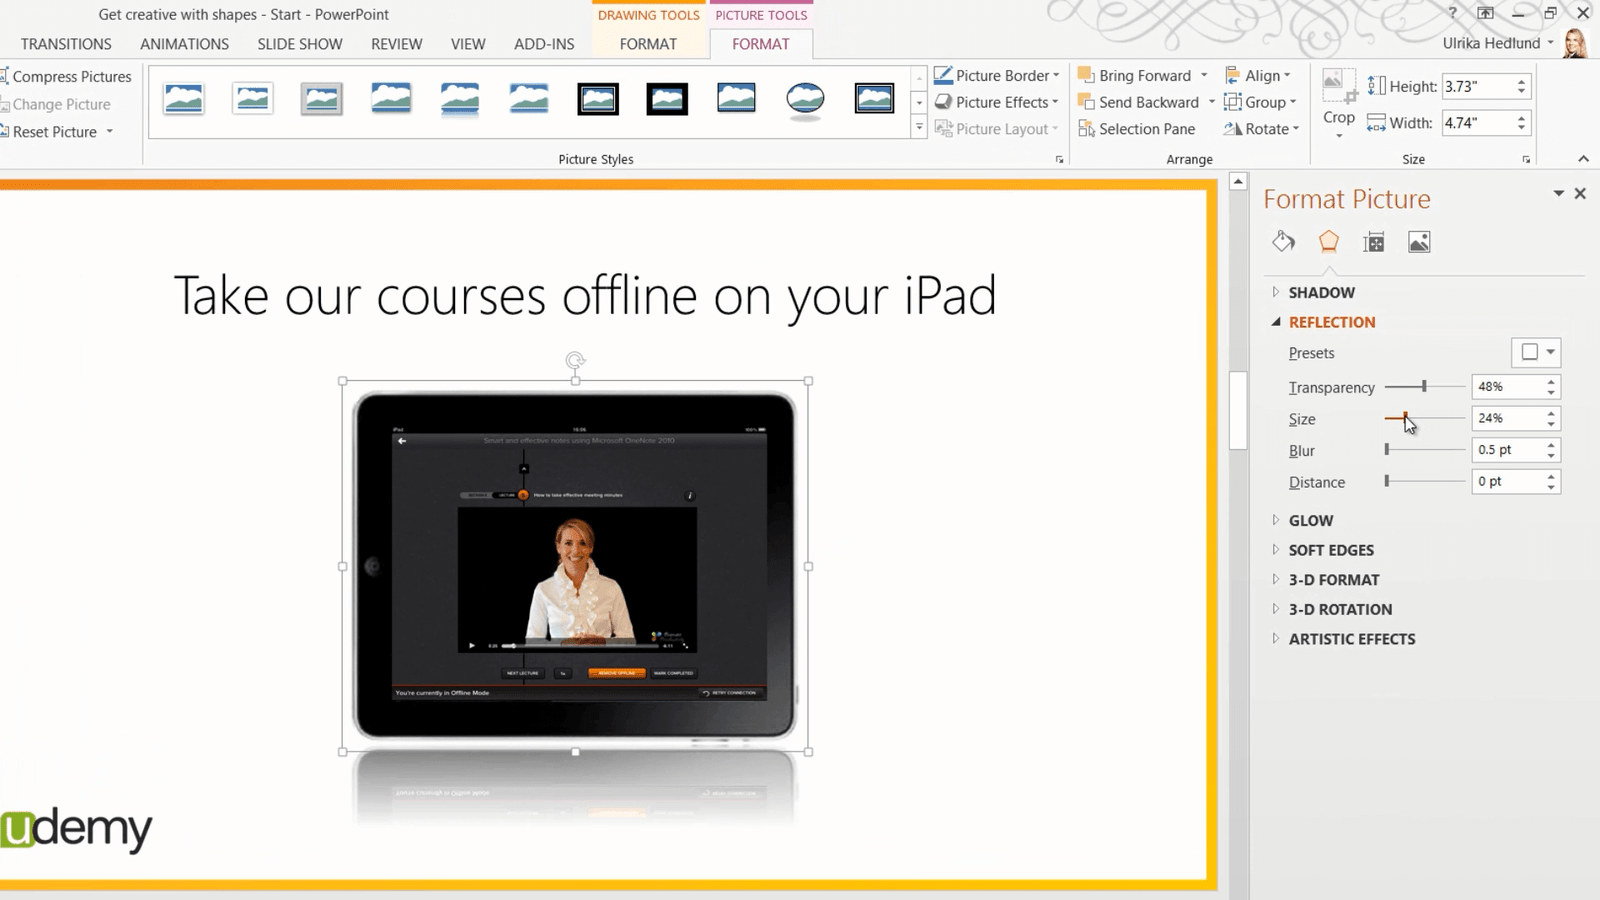
Now I want to add a reflection effect. To add a reflection to an object mark the object so that the “PICTURE TOOLS” appear. Click “Picture Effects” and then select “Reflection”. Here I get a live preview of what different options look like. I’ll select this one but I want to make the reflection a bit smaller.

To change the reflection settings, right-click and select “Format Picture”. The “FORMAT” pane appears where you can modify the settings of your picture. I’ll expand the “REFLECTION” section and here I’ll choose to change the size of the reflection to make it a bit smaller. There that looks good!
How to Merge shapes together in PowerPoint 2013?
On this next slide, I want to add gear wheels but I haven’t found a good picture on the Internet so I’ll just create my own shapes. In PowerPoint 2013 you have more advanced options to create your own shapes by merging shapes together. I’ll click “INSERT”, “Shapes” and then I’ll start with a 12 pointed star. I’ll hold down “Shift” when I draw to keep the proportions. I’ll make the rays a bit more pointy by moving the yellow marker down.

Next, I’ll insert a circle to cut off the edges of the star. To make the circle perfectly round I’ll hold down “Shift”. The new alignment guides in PowerPoint 2013 help me position the circle, so when I see a cross I know that I’m in the center of the star. Now I’ll mark both shapes, and under the “DRAWING TOOLS”, “FORMAT” tab in the “Insert Shapes” section I’ll click “Merge Shapes”. Here you have a number of different options for how to combine your shapes. You get a live preview of what happens to your shape. Here I’ll select “Intersect”.

Then I’ll insert one more circle. Now I want to cut out a circle in the middle. Again I’ll position the circle in the middle, mark both objects and then click “Merge Shapes” and this time I’ll select “Subtract”. And there is my gear wheel.
I’ll make it a bit smaller and then I’ll copy it by pressing the keyboard shortcut “CTRL+ C” and then paste it in with “CTRL + V”. In order to align the wheels, I need to rotate the top one a bit. To rotate an object grab the rotation wheel by holding down the left mouse button and turn it to either side.

I’ll move it a bit more to fit it in better. Again I’ll press “CTRL C” and then “CTRL V” to paste in one more wheel. I’ll align it on the other side and then I’ll move all the wheels to the right side of my slide.
Now I want to change the visual effect of the gear wheels. I’ll mark one of the wheels and click “Shape Effects”, “Bevel” and then select the rounded “3-D-effect”. Now I’ll change the color of the shape to white as well as the outline. Now I want to copy the same formatting to all shapes. On the “HOME” tab I’ll click “Format Painter” if I click it quickly twice the little paintbrush appears and I can apply the same formatting to multiple objects. I’ll just click on to the two wheels to give them the same formatting.
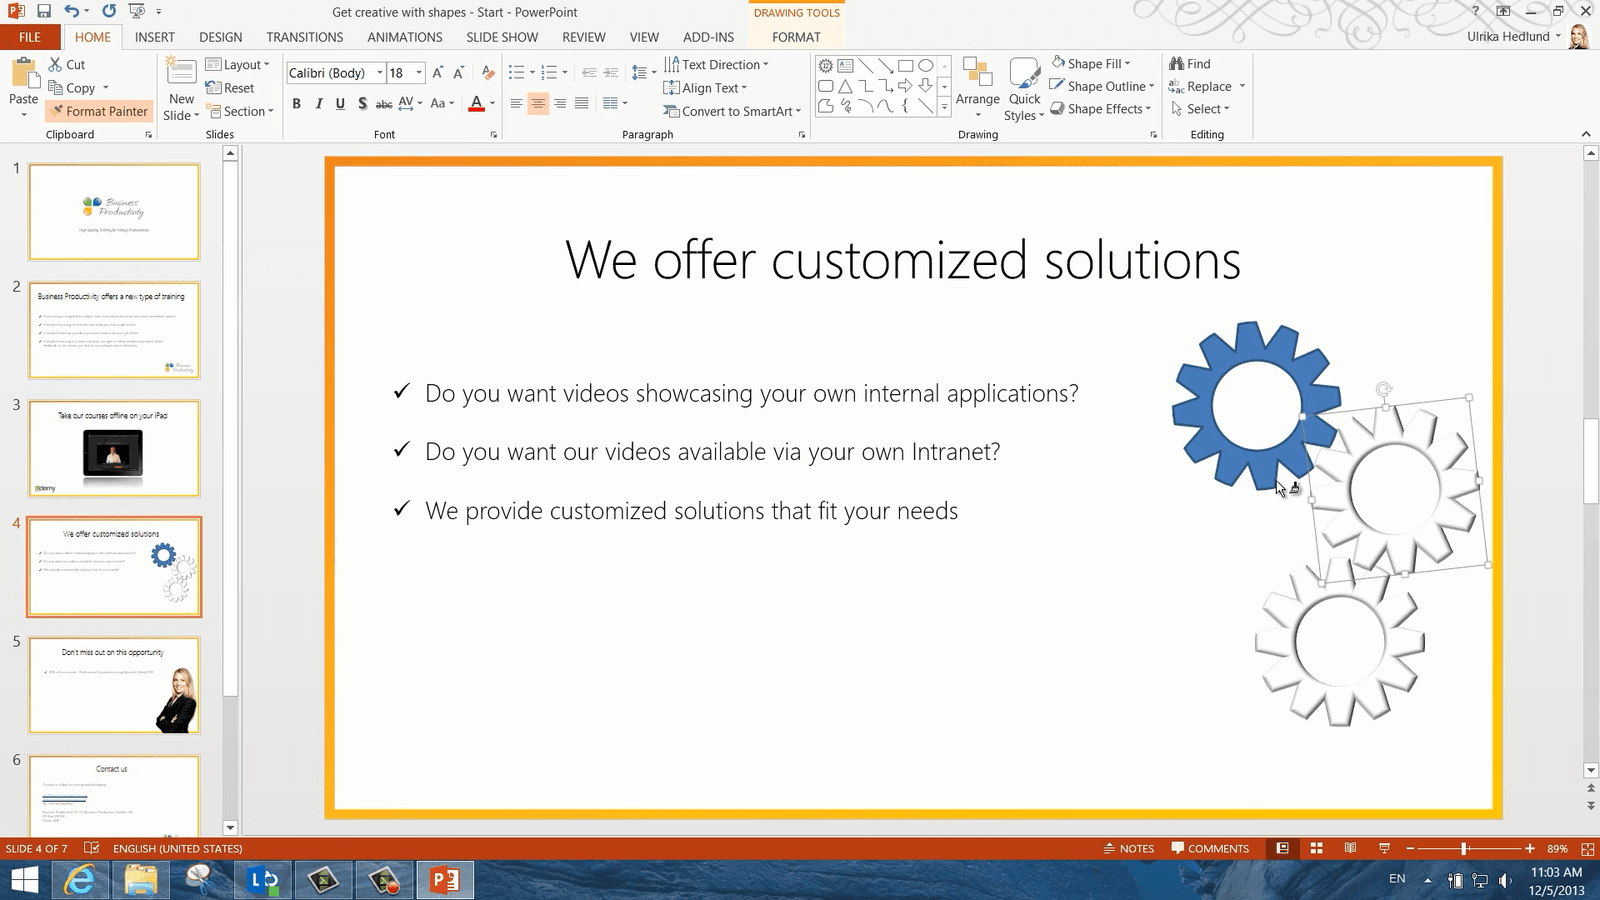
To remove the format paintbrush I’ll just click “Format Painter” again. There!
How to Edit the points of a shape in PowerPoint 2013?
Now on this third slide, I want to create a nicer Ad for the 50% off promotion. I’ll click “INSERT”, “Shapes” and then I’ll select a rectangle. I’ll draw a rectangle but I want it to be more curvy. To change a shape to make it curvier I’ll click “Edit Shape” and then “Edit Points”. I’ll place my mouse pointer on the line that I want to edit and then I’ll hold down the left mouse button and pull to the right. You will see two blue lines that show the direction of the curves. I can change the angle of the lines to change the curve.

There that looks good! I’ll mark the shape again and go to the “Shape Styles” gallery to apply a nice orange effect. To add a shadow to my shape I’ll click “Shape Effects”, “Shadow” and select this diagonal shadow. Now I need to insert the text. I’ll click “INSERT” and then “Text Box”. I’ll draw the text box over my shape and type 50%. I’ll mark the text and change the font to “Arabic Typesetting” and then I’ll change the size to make it really big. Finally, I’ll change the color to white and move the text up a bit. I’ll insert a second text box with the text OFF and resize the text by clicking “Decrease Font Size” on the “HOME” tab. There! Now I want to insert a screen clipping from this web page of our PowerPoint course on Udemy. To insert a screen clip in your presentation, click “INSERT”, “Screenshot” and then select “Screen clipping”, and here I’ll just mark the part of the web page that I want to insert into my slide.

How to Add 3D effects in PowerPoint 2013?
I want to change the angle of the image so I’ll click “Picture Effects”, “3-D Rotation” and then I can hover over the different options to get a live preview of the results. I’ll select one with just a little bit of angle.

I want to increase the angle a little bit so I’ll right-click on the picture and click “Format Picture”. I’ll expand the “3-D-ROTATION” settings and increase the X-axis rotation a little bit.

There that’s perfect! Now I want to apply the same 3-D-effect to this picture of me. I’ll mark the screenshot, go to the “HOME” tab and click “Format Painter”, and then I’ll click my picture. I’ll click “Arrange” and bring the picture up one layer. And after a little bit of fine-tuning here we go!
In just a few minutes we have used our creativity and the tools in PowerPoint 2013 to make this sales presentation a lot more interesting!
[…] Instructions in text form: http://howtopowerpoint.tv/videos/how-to-make-creative-shapes-in-powerpoint-2013/ […]