How to Tell A Story with Pictures in PowerPoint 2013?
Introduction
A presentation is always more appealing to the audience if it has pictures in it. If you find the right pictures they can really help to tell a story.
PowerPoint 2013 has a number of picture tools that can help you enhance the images in your presentation. Now I’m going to show you how you can use these tools to recolor your images, to apply artistic effects and finally how you can use the new alignment tools to position your images perfectly.
Here I have a presentation about Dubai as a destination for a company off-site. In its current form, the presentation only contains text and it isn’t very selling. Now I’m going to show you how you can make the presentation look like this by using pictures and the picture tools in Microsoft PowerPoint 2013.
How to Change the color and brightness of an image in PowerPoint 2013?
Instead of having text on this first slide I want to show a picture of a camel in the desert. First I’ll delete the text by just marking the content holder and pressing “delete”. To insert a picture that’s on your computer, you can either press the “Pictures” icon on the slide, or go to the “INSERT” tab, and then click “Pictures”. Here I’ll select a photograph I’ve taken in the desert. I’ll resize it a little bit so that it covers the entire slide. Even though the colors are great, I want to make the sky even bluer and the sand more striking orange. To change the color saturation of an image mark the picture so that the “PICTURE TOOLS” appear, in the “Adjust” section click “Color”. Here you get a live preview of what different color saturation will look like. I’ll select the “200%” saturation.
How to insert pictures from ClipArt in PowerPoint 2013?
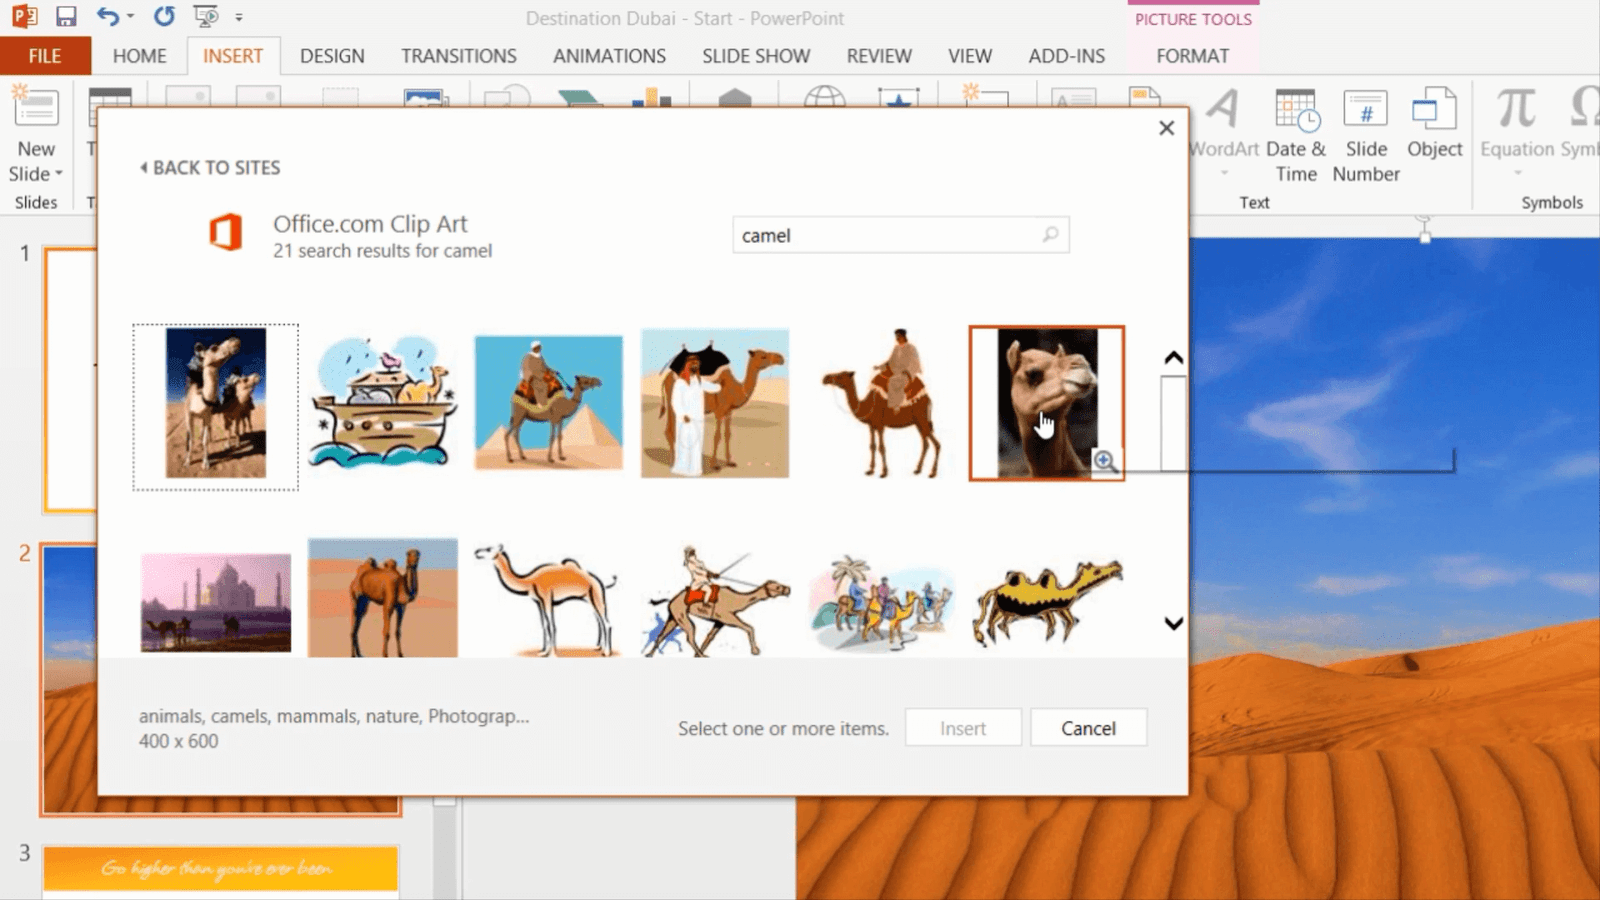
Now I need to find a picture of a camel in Microsoft Clipart. To insert an image from Clipart go to the “INSERT” tab and click “Online Pictures”. Here you have a number of online image resources to choose from. Here I’ll select Office.com Clipart as my picture source. I’ll do a search for “Camel” and as you can see I get various results from the Clip Art library. I’ll select this photograph. To insert it into my slides I’ll just click “Insert”.
How to Remove the background from an image in PowerPoint 2013?
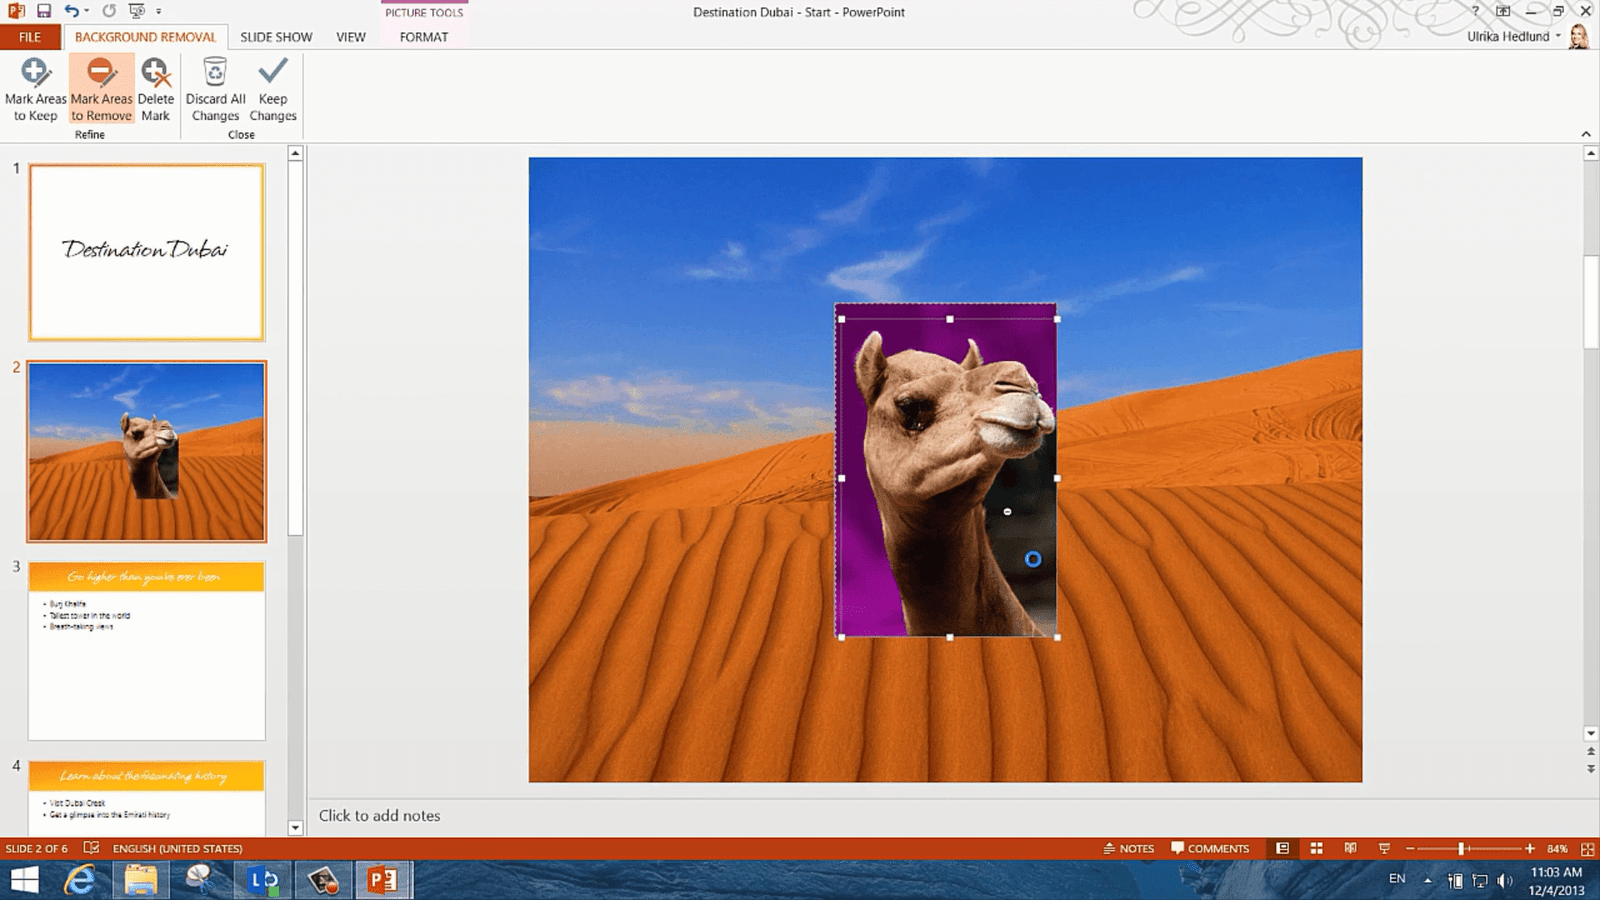
In order for this camel to melt in, I need to remove the background from the image. To remove the background from an image, mark the picture so that the “PICTURE TOOLS” appear. In the “Adjust” section click “Remove Background”. Everything that’s colored purple will be removed from the picture. Resize the square so that it outlines only the part of the picture you want to keep. To mark an area to be removed, click “Mark Areas to Remove” and keep clicking until the area is colored purple. When everything you want to remove from the picture is colored purple click “Keep Changes.” And there you go! Now I’ll just move the camel to the side and make it a bit larger by pulling the top left corner.
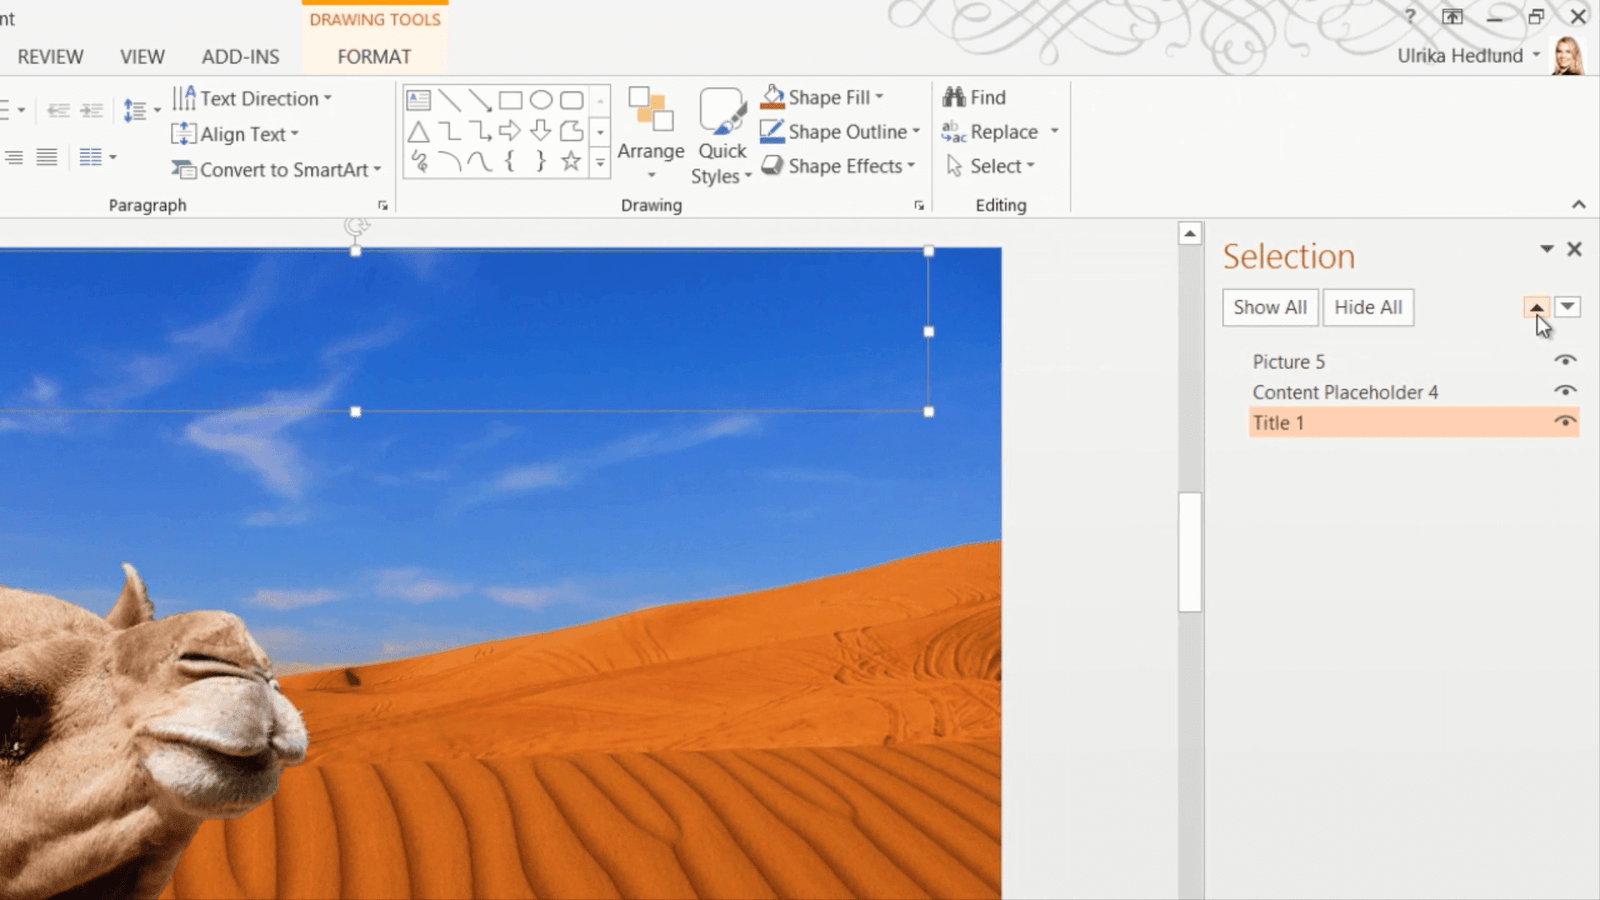
Now I need to re-arrange the order of the picture so that my title text appears. On the “PICTURE TOOLS” “FORMAT” tab, in the “Arrange” section I’ll click “Selection Pane”. I’ll mark the title and move it up to the top layer by clicking the up arrow.
I’ll mark the title, resize the text box and move it to the bottom of the slide. Perfect!
How to insert pictures from the Internet in PowerPoint 2013?
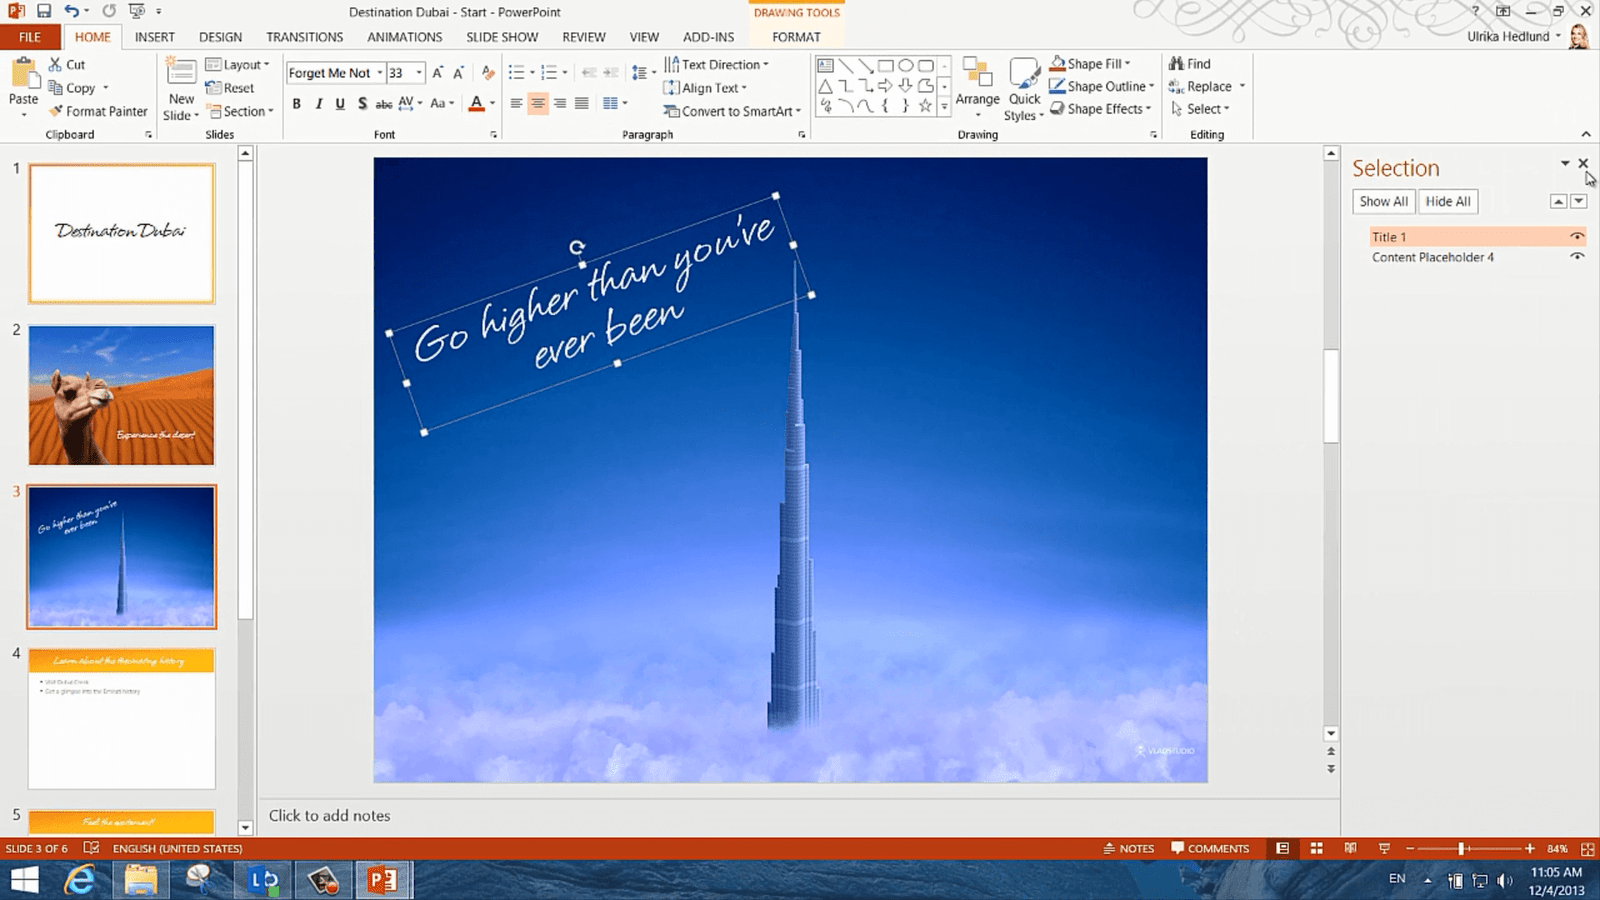
In this next slide, I want to insert a picture of Burj Khalifa from Vladstudio. To insert a picture from the Internet I’ll click “Online Pictures”. Here I’ll select Bing as the picture source. I’ll type Burj Khalifa Vladstudio. At first, nothing comes up. This is because Bing first only provides search results licensed under Creative Commons, meaning that you can use the image free of charge without having to worry about copyrights. If I click “show all web results” I’ll see all the images available on the Internet. I get a warning that images might be subject to copyright. In this case, I have already contacted the photographer who has given his consent to use the image as long as we give credit to Vladstudio. Here is the image I want to use, so I’ll mark it and insert it into my slide.
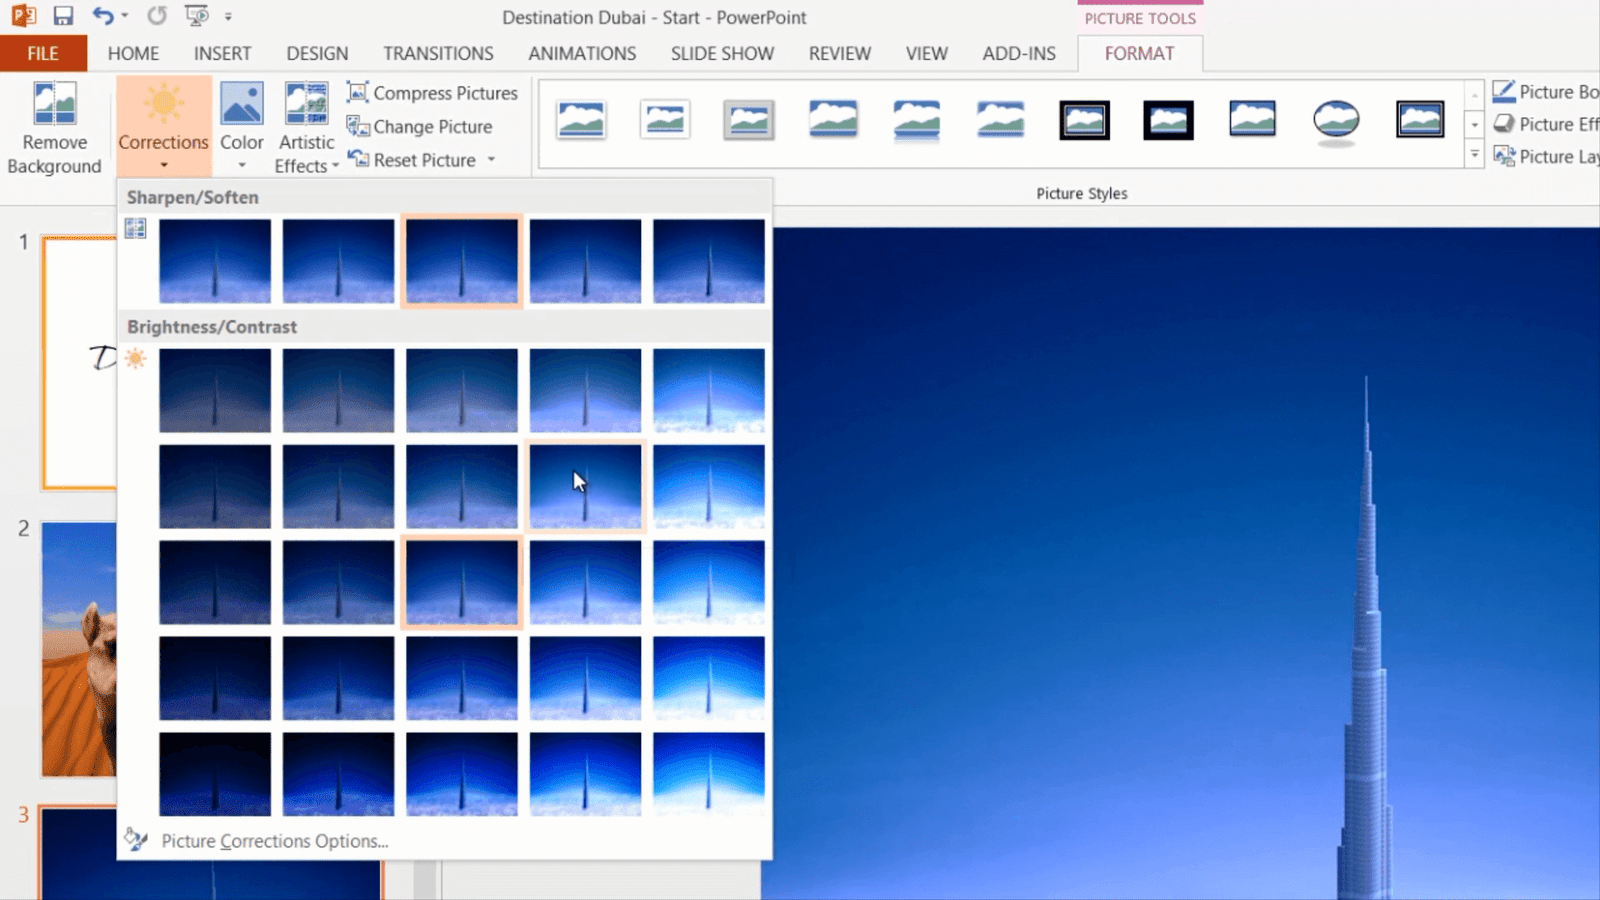
Again, I’ll change the size so that it covers the full slide. Now I want to change the brightness of the photograph to make it a bit brighter. To change the brightness of an image, mark the image so that the “PICTURE TOOLS” appear. In the “Adjust” section click “Corrections”. Here I get a Live Preview of what different Brightness and Contrast settings look like. Here I’ll choose to increase the brightness by 20%.
Again I’ll open up the “Selection Pane” and move the title up one layer. I’ll resize the text box, move it down a bit and rotate it by grabbing the rotation wheel by holding down the left mouse button and pull it to the left. There! Now that looks great!
How to use Artistic Effects in PowerPoint 2013?
In this third slide about the history of Dubai, I want to insert a picture of Dubai Creek that looks a bit old. I’ll insert a picture from the Internet. I’ll click Online Picture and search for it on Bing. I’ll select this picture of Dubai Creek and “Insert”. On the “PICTURE TOOLS” “FORMAT” tab I’ll click “Crop” and then I’ll move the handles to crop the picture to focus in on the center of the image. I reposition the picture and make it larger to cover the full slide.
Now I want to make it black and white. To make a picture black and white mark the picture so that the “PICTURE TOOLS” appear, in the “Adjust” section click “Color”. Here I’ll select a Saturation of 0% to remove all color. Now I want to add an artistic effect to make it feel a bit more old. I’ll click “Artistic Effects” and here you have a number of different effects that you can apply. The “Pencil Grayscale” sketch is great if you want to make a picture look hand drawn. The “Blur” effect is great if you want to censor something like a license plate or a face. In this case, I’m going to use the “Film Grain” effect to get and old feeling.
I’ll open up the “Selection pane”, move up the title and change the title to black to make it easier to read. There! That looks nice!
How to add colored shapes to images in PowerPoint 2013?
On this slide, I’ll insert a photograph that I have taken of the Atlantis water park. Just like before I’ll resize the picture so that it covers the full slide. I’ll open up the “Selection Pane” and move the title text up a layer and then I move it to the bottom of the picture. Here I want to add a dark layer so that the text becomes more visible. I’ll click “INSERT” and then “Shapes”. I’ll select a rectangular shape and draw it across the bottom of my picture. I’ll move the rectangle down a layer so that it doesn’t cover the text. I’ll close down the “Selection Pane” and right-click and select “Format Shape” to bring up the “Format Shape” panel. In the “FILL” section I’ll select “Gradient fill”. I’ll select a “Linear” gradient and then pick the direction “Linear Up”. I’ll change the color to black for both “Gradient stops” and then I’ll select the top gradient stop and increase the transparency to 100%. Next, I’ll go to the “LINE” settings and change it to “No Line”. There, now the bottom part of my picture is darker and I can clearly see the text.
How to arrange and align multiple pictures in PowerPoint 2013?
On the final slide, I’ll insert lots of pictures. I’ll click “INSERT”, “Pictures” and then I’ll mark one picture and press the keyboard shortcut “CTRL-A” to select all pictures in the folder. I’ll change the size of all images to 1.88 inches width. I’ll just move these images up a bit and remove the text and the content holder. I want to arrange these images into a grid. In previous versions of PowerPoint that was really tricky. In PowerPoint 2013 Microsoft has introduced alignment guides, little orange lines that help position objects. They clearly show you where you should position your objects so that they are perfectly aligned. I’ll mark all images, right-click and select to group them as one object. Now I’ll move the entire picture grid and I can see from the alignment guide when I’m in the center of the slide.
And there we go, in just a few minutes we have created a great-looking presentation with beautiful images that really tell the story of Dubai.




Leave a Reply